A pre-shipment inspection cannot create quality after production, but it can confirm whether a finished audio cable order matches the approved specification before the goods leave the factory. For importers, distributors, private-label brands, rental suppliers, and AV integrators, this is the last practical point to identify a wrong connector, pinout, length, material, label, package, or recurring assembly defect before freight and customer delivery add cost.
The most effective inspection plan begins before mass production. Buyer and manufacturer should agree on the specification, golden sample, test methods, sampling approach, defect definitions, and report format while changes are still possible.
This guide explains what to inspect, which tests may belong on every cable, which checks are better sampled, and how to turn results into a clear shipment decision.
Pre-shipment inspection is only one quality gate
Do not treat final inspection as the complete quality system. A reliable program uses several gates.
Before production, approve the drawing, materials, pinout, dimensions, marking, packaging, and test plan. During production, the factory should control incoming materials, first-piece output, termination, shielding, strain relief, printing, and labeling. Finished assemblies then receive the agreed electrical and visual checks. A buyer or independent inspector verifies the completed lot and records, but sampling does not replace process control or any 100% test required for individual assemblies.
1. Prepare the inspection documents
An inspector should not decide requirements from memory or from a marketplace listing. Provide a controlled inspection pack:
- Purchase order and approved product revision
- Product drawing and bill of materials or controlled specification
- Pinout and channel map
- Approved golden sample, photographs, or master color reference
- Packaging artwork and barcode data
- Unit, inner-carton, and master-carton packing requirements
- Test methods, equipment, limits, and frequency
- Sampling plan and defect classification
- Previous corrective actions that require follow-up
If documents conflict, stop and resolve the revision before judging the goods. A newer logo file with an older package drawing is a common source of avoidable disputes.
2. Confirm lot status and inspection readiness
Confirm that production and packing have reached the agreed completion level. Record the factory, location, purchase order, revision, lot code, finished and packed quantities, carton count, date, and participants. Photograph the lot. If production or rework continues during inspection, disclose it because the available samples may not represent the final shipment.
3. Verify quantity and assortment
Count cartons and reconcile every model-length-color combination, not just the total. Confirm SKU, connectors, cable length, colors, label, barcode, packaging revision, units per carton, and included accessories. Use weight estimates only when agreed and reliable; direct counting is safer for mixed or high-value shipments.
4. Inspect packaging before opening samples
Packaging is part of a private-label product. A cable can pass electrical tests and still be commercially unacceptable if the wrong barcode, length, or model reaches a customer.
Check master cartons for correct marks, quantities, damage, moisture, sealing, dimensions, weight, and required pallet protection. Check unit packs for the approved artwork, product and length, labels, coil method, cleanliness, connector protection, and inserts. Scan representative barcodes and compare the decoded value with the approved SKU record.
5. Check the cable and connector visually
Visual inspection should use written defect examples where possible. Review the entire assembly under adequate light.
Cable jacket
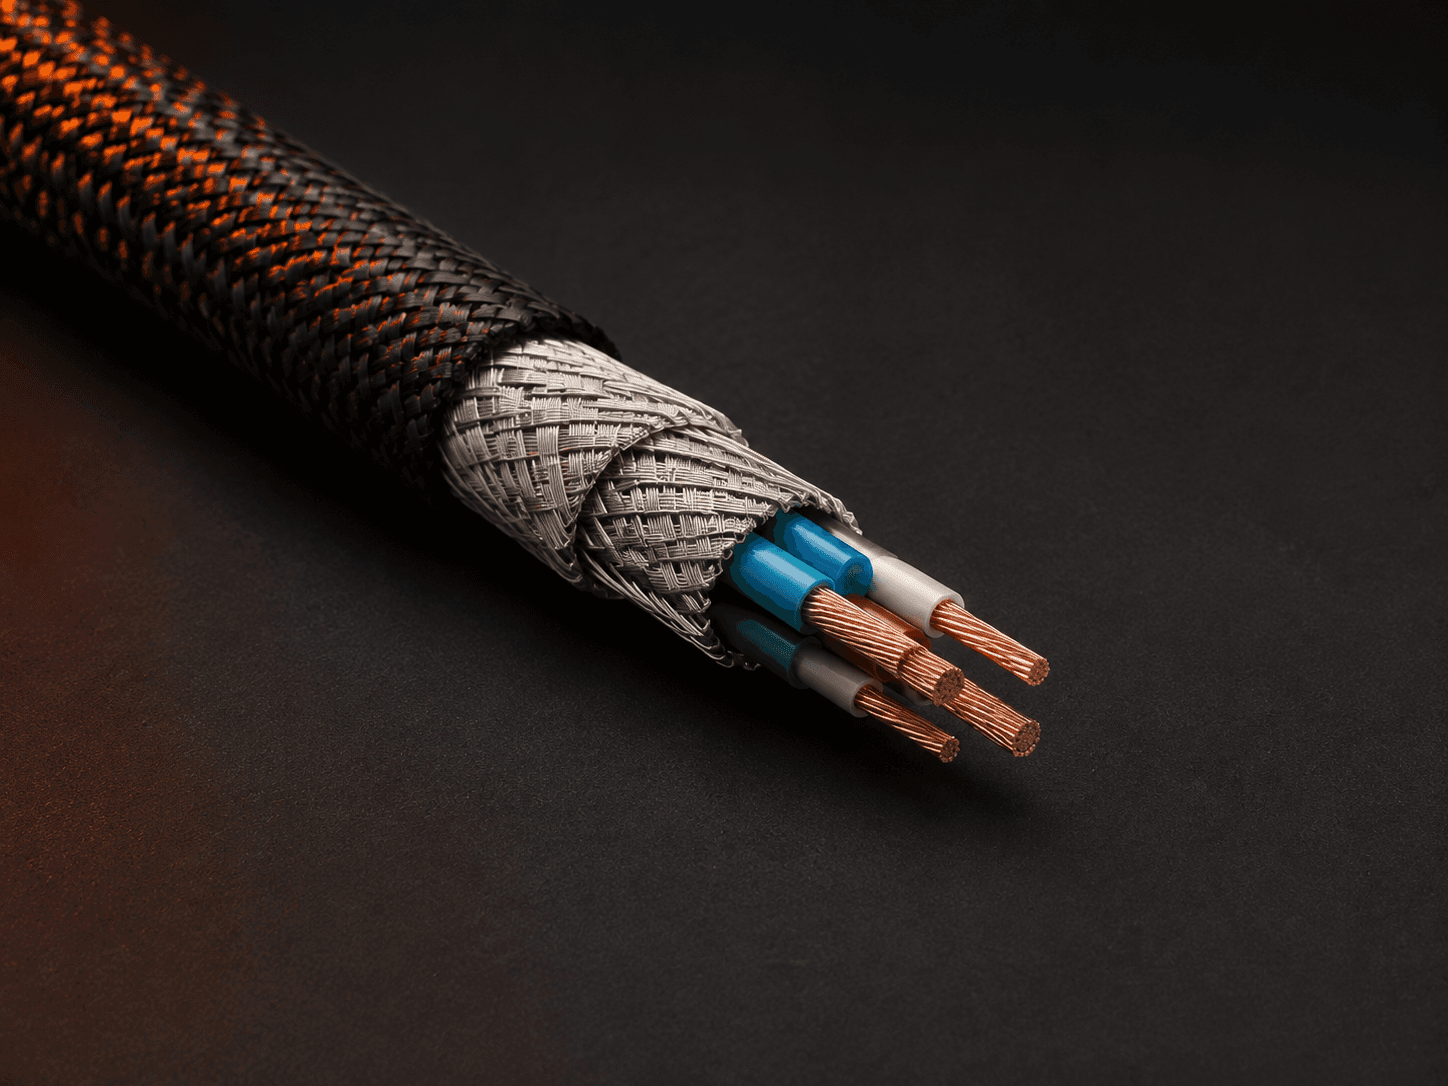
Look for cuts, cracks, dents, bubbles, lumps, discoloration, contamination, exposed shield, inconsistent braid, printing defects, or kinks caused by packing. Compare color and surface finish with the approved sample under similar lighting.
Connectors
Check connector family, gender, pin count, orientation, shell finish, latch action, boot, screws, and cable entry. Look for loose shells, cross-threading, sharp edges, bent contacts, recessed or misaligned inserts, plating damage, excess adhesive, and cosmetic marks outside the approved limit.
Termination and strain relief
For serviceable connectors, open sampled units only if the inspection plan permits it. Inspect conductor preparation, solder wetting, insulation clearance, shield termination, loose strands, contamination, hardware, and strain-relief engagement. Reassembly must follow the approved method, and opened units should be identified if necessary.
IPC/WHMA-A-620 is a recognized industry reference for cable and wire harness assembly workmanship. It covers soldered and mechanically secured terminations, connectorization, molding, marking, shielding, protective coverings, and finished assembly. If a contract cites this or another standard, identify the exact revision and applicable product class or customer criteria rather than writing only “IPC compliant.”
6. Measure finished dimensions
Measure finished length, fanout, outer diameter, label position, coil size, and connector or overmold dimensions where controlled. Use verified equipment and the approved reference points. A flexible cable under tension appears longer than one laid relaxed, so define the condition. Record actual values; results clustering near one limit can reveal process drift even when the lot passes.
7. Perform continuity, short-circuit, and pinout testing
Electrical connection testing is fundamental for a finished cable assembly.
Point-to-point continuity
Verify that each intended contact at connector A reaches the correct contact at connector B. The test should include every signal conductor and the shield path required by the drawing.
Short-circuit test
Verify that conductors intended to remain isolated are not shorted. Stray shield strands, excess solder, damaged insulation, or incorrect assembly can create intermittent or permanent shorts.
Miswire and pinout test
The tester should detect reversed, crossed, or missing connections. This is essential for adapters, XLR gender combinations, insert leads, Y-cables, multichannel snakes, and custom control assemblies.
Intermittent-fault check
Where handling failures are a known risk, flex the cable near each connector while monitoring continuity. Define the movement and observation method so results are repeatable.
Automated cable testers are useful because they can check multiple paths quickly and store results. However, the correct test program must be loaded. Include fixture verification or a known-good and known-fault reference as part of test-station control.
8. Measure resistance only against an approved method
Continuity alone can pass a high-resistance joint. For products where low resistance is important, specify contact resistance, conductor loop resistance, or total path resistance with the measurement points, lead compensation, instrument, and limit.
Use component data carefully. A connector manufacturer may publish a milliohm-level contact-resistance specification for a specific model under defined conditions. That value does not automatically become the pass limit for a complete cable assembly, which also includes conductor resistance, two terminations, length, fixtures, and measurement uncertainty.
For long cable assemblies, compare measured resistance with the approved cable resistance, length, connector contribution, and tolerance. Four-wire measurement may be appropriate for very low resistance. If the buyer needs this test, the method should be agreed during sample approval.
9. Use capacitance and impedance tests where the application requires them
Not every finished cable requires detailed electrical characterization during shipment inspection. Apply these measurements when they relate to product performance or specification.
Capacitance
Capacitance is particularly relevant to high-impedance instrument cables, where construction and length can affect the electrical load seen by the source. For microphone and balanced line cables, capacitance is still a useful controlled property but should be evaluated within the application and cable design.
State whether capacitance is measured conductor-to-conductor or conductor-to-shield, at what frequency, and for what length. Published cable data often provides both configurations.
Characteristic impedance
Digital audio and control cables may require a controlled characteristic impedance, such as an AES3 or DMX application. Do not confirm impedance by measuring DC resistance with a multimeter. Use the appropriate method and equipment, and agree whether testing applies to bulk cable qualification, finished samples, or each lot.
Insulation resistance and dielectric tests
These may be relevant for specific products or customer standards. Define the test voltage, duration, connections, safety controls, and limit. Do not improvise a high-voltage test on audio equipment or an unspecified assembly.
10. Test connector fit and function
Use approved mating connectors or reference equipment. Check smooth insertion and removal, latch function, looseness, shell and boot security, keying, and stable electrical behavior during normal handling. Published mating-cycle and force data support component qualification; shipment inspection usually uses a shorter functional check. Replace worn reference connectors before they distort results.
11. Perform mechanical tests by risk and frequency
Mechanical tests should simulate realistic failure modes without becoming vague demonstrations.
Cable-retention or pull test
Define the direction, load, duration, fixture, and pass condition. Decide whether the requirement applies to connector retention, cable-to-strain-relief movement, electrical continuity during load, or permanent damage after the load.
Bend and flex test
Define bend radius, angle, load, speed, number of cycles, and electrical monitoring. Most failures occur near the connector exit, so the fixture should reproduce that stress without cutting the cable on a sharp edge.
Repeated coiling
For touring and rental products, controlled coiling trials can reveal excessive memory, twisting, jacket buckling, or connector stress. Record the coil diameter, temperature, and number of cycles if the result is part of acceptance.
Mating-cycle or latch test
Extended cycling is usually a qualification or periodic test rather than a final check on every unit. Use the connector manufacturer’s product-specific rating as one input and confirm performance of the finished assembly under the agreed method.
12. Add an application-level functional check
An application check can reveal usability issues that a wiring test misses. Use a controlled reference system appropriate to the cable: microphone-to-mixer, interface-to-monitor, instrument-to-high-impedance input, channel-by-channel snake, or compatible digital/control equipment. Check for dropouts, crackle, hum, handling noise, reversal, or intermittency. This supplements defined electrical tests; it does not replace them.
13. Inspect printing, labels, and traceability
Verify that cable printing and labels match the approved content, position, color, and legibility. Check model, length, brand, certification marks where valid, lot code, and country-of-origin marking as applicable.
Traceability should allow the buyer and factory to connect a problem to a production lot and approved revision. Check that carton labels, unit codes, inspection reports, and factory records use consistent identifiers.
For recurring orders, compare the current lot with earlier approved data. A sudden change in cable weight, outer diameter, flexibility, connector finish, or resistance may indicate a material or process change that needs investigation even if the sample still functions.
14. Use a written sampling and defect plan
The buyer and supplier should agree on the statistical sampling standard or other sampling method before inspection. State lot definition, inspection level, sample size, acceptance number, rejection number, and rules for reduced, normal, tightened, or 100% inspection where relevant.
Classify defects according to business and safety impact. A practical framework may include:
- Critical: A condition that could create an unacceptable safety or regulatory risk, or a prohibited wiring condition defined as critical by the product specification.
- Major: A failure of function, pinout, electrical requirement, mechanical integrity, identity, or packaging that could cause return, installation delay, or customer rejection.
- Minor: A workmanship or cosmetic departure that does not materially affect intended function but falls outside the approved appearance criteria.
Examples must be product-specific. A wrong barcode can be major for retail distribution. A small shell mark may be minor for a bulk installation product but unacceptable for premium retail packaging.
Do not invent an AQL at the factory after defects are found. The commercial agreement must define the sampling and decision rule.
15. Review factory test records
If the specification requires 100% electrical testing, review records identifying the product revision, lot, test program, station, date, quantity, pass/fail and re-test counts, and equipment status. A green “PASS” stamp does not show what was tested. Compare records with the physical lot and observe the approved test where possible.
16. Handle failed inspection methodically
When inspection fails, document the requirement and sample, confirm the revision and method, contain the lot, determine whether the issue is isolated or systematic, define correction, and re-inspect after corrective action. Significant or repeated defects need root-cause analysis. Any shipment concession should identify the exact nonconformance, affected quantity, decision owner, and limit of approval.
Copy-ready audio cable inspection checklist
Documents and lot
- Purchase order, model, and revision match
- Approved specification, pinout, artwork, and sample are available
- Production is complete to the agreed inspection-readiness level
- Lot and packed quantities are recorded
Product identity
- Cable category and application are correct
- Connector A/B, gender, pin count, and orientation are correct
- Length, color, model, and package variant match
- Labels and barcodes decode correctly
Visual workmanship
- Jacket has no cuts, cracks, kinks, bubbles, or contamination
- Connectors have no loose parts, bent contacts, sharp edges, or unacceptable damage
- Boots and strain relief are fully engaged
- Printing and labels are correct and legible
- Sampled internal termination meets approved workmanship criteria
Dimensions
- Finished length is within tolerance using the approved method
- Fanout, label position, OD, and package dimensions meet controlled requirements
Electrical
- Continuity passes on every required path
- No shorts between isolated contacts
- Pinout, shield path, and channel mapping are correct
- Resistance, capacitance, impedance, or insulation tests pass where specified
- Test records support required 100% factory checks
Mechanical and functional
- Connector mating and latch function are normal
- Cable and connector fit is stable
- Sampled pull, bend, flex, or cycle tests pass where specified
- Application-level functional test shows no dropout or intermittency
Packaging and shipment
- Unit and carton packaging match approved artwork and quantities
- Connectors and jackets are protected during transit
- Carton marks, weights, dimensions, and labels are correct
- Lot identification and inspection records are traceable
Frequently asked questions
Is continuity testing enough for audio cables?
No. Continuity confirms that a path exists, but it may not detect a high-resistance joint, weak strain relief, intermittent connection, wrong material, incorrect length, poor shielding termination, or packaging error. Use a risk-based combination of electrical, visual, dimensional, mechanical, and documentation checks.
Should every cable be tested before shipment?
Every finished assembly can reasonably receive automated continuity, short-circuit, and miswire testing when suitable fixtures are available. Destructive or time-consuming tests usually follow a sample, periodic, or qualification plan. Put the exact frequency in the specification.
What is an acceptable contact resistance for an XLR cable?
There is no universal complete-assembly limit. Use the approved connector data, cable conductor resistance, assembly length, termination contribution, fixture resistance, and measurement method to establish a product-specific value. Do not apply one connector model’s data-sheet figure to every assembly.
How do I inspect a sealed or molded connector?
Use process controls, first-piece or destructive qualification samples, electrical testing, dimensions, pull/flex tests, and production records. The internal joint cannot be verified visually on every sealed unit, so validation of the molding and termination process becomes more important.
What should an audio cable inspection report contain?
It should identify the supplier, location, purchase order, model, revision, lot, quantity, sample plan, method, equipment, acceptance limits, individual findings, defect classification, photographs, factory records reviewed, and final disposition. Measurements should include actual values where useful.
Conclusion
A strong audio cable quality inspection plan verifies the product the buyer actually approved. It starts with controlled specifications and samples, then checks lot identity, workmanship, dimensions, electrical integrity, mechanical behavior, packaging, and traceability using agreed methods.
The most important improvement is to define tests before production. When the factory, buyer, and inspector use the same drawing, fixtures, limits, and defect rules, inspection becomes a clear quality decision rather than a negotiation at the shipping deadline.
Ask for a test and inspection plan
Preparing a bulk order of XLR, instrument, speaker, interconnect, or custom audio cable assemblies? Send ToneBraid your product specification, quantities, destination market, and expected quality checks. We can organize the requirements that need to be confirmed before quotation and sample approval.